Prices were current at time of listing and can change without notice.

Waterproofing Your RC Vehicle:
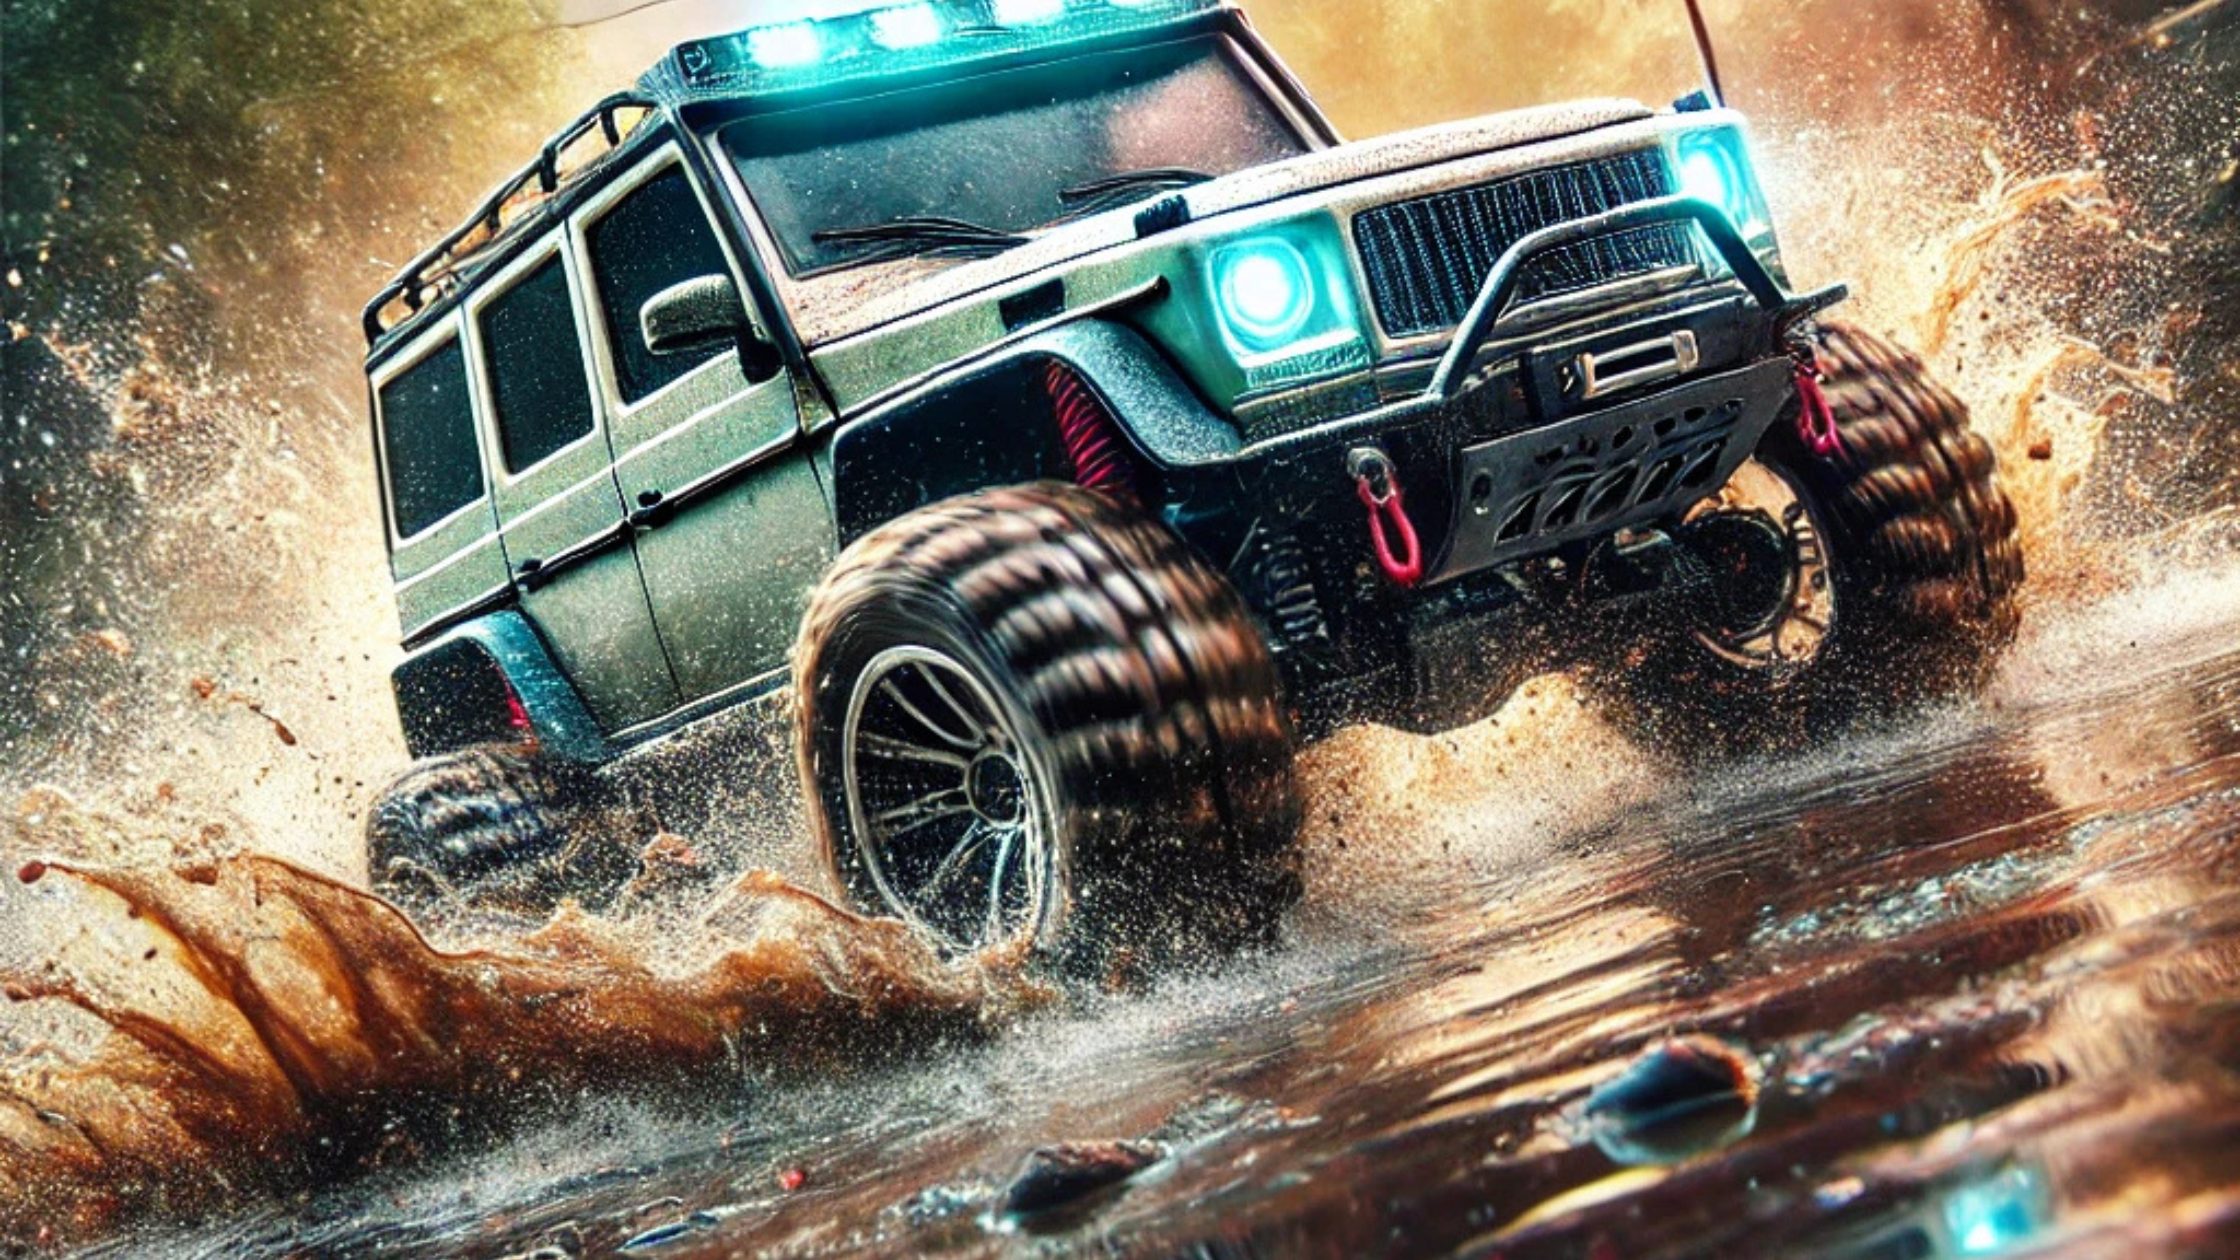
RC vehicles are a source of fun and excitement, whether you’re navigating rocky terrains, racing across dusty tracks, or splashing through muddy puddles. However, exposing your RC vehicle to water, mud, or snow without proper waterproofing can damage its sensitive electronic components, leading to costly repairs or replacements. In this guide, we’ll delve into the importance of waterproofing, the necessary tools and materials, step-by-step instructions for waterproofing your RC vehicle, and tips for maintaining its durability in wet conditions.
Why Waterproof Your RC Vehicle?
RC vehicles are built for a variety of terrains, but many aren’t designed to handle water exposure out of the box. Even if an RC vehicle is labeled as waterproof or water-resistant, it doesn’t mean it’s impervious to damage. Waterproofing ensures:
- Protection of Electronics: Motors, receivers, ESCs (Electronic Speed Controllers), and batteries are sensitive to moisture. Water exposure can lead to short circuits and permanent damage.
- Extended Lifespan: Regular exposure to water or mud can cause rusting and degradation of components. Waterproofing prolongs the life of your vehicle.
- Enhanced Performance: A waterproofed RC vehicle allows you to tackle wet environments, muddy tracks, and snowy trails without worry, enhancing the overall experience.
What Parts Need Waterproofing?
Before starting the waterproofing process, identify the components of your RC vehicle that are vulnerable to water damage:
- Electronic Speed Controller (ESC): The ESC is a critical component that regulates power from the battery to the motor. It’s highly sensitive to water.
- Receiver: This part communicates signals from your transmitter to the vehicle. Water exposure can interfere with communication or cause permanent damage.
- Servo: The servo controls steering and other functions. Many servos are not waterproof by default.
- Battery: While most LiPo batteries are somewhat sealed, connectors and wires are vulnerable to moisture.
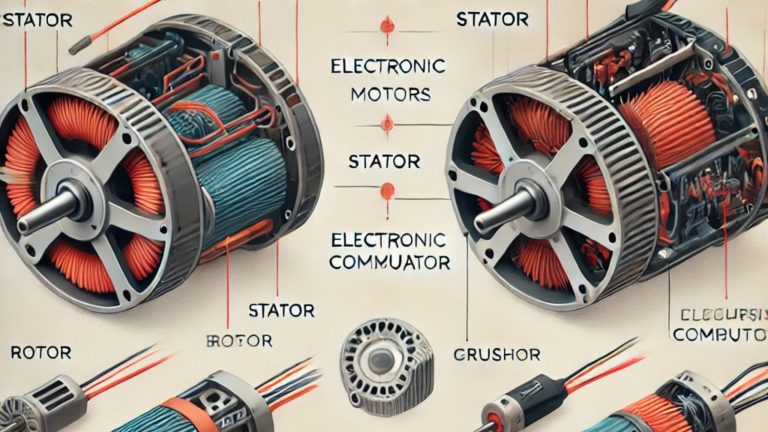
- Motor: Brushed motors are more water-resistant than brushless ones, but they still require some protection.
- Chassis and Exposed Areas: Mud and water can accumulate in the chassis, leading to rust and corrosion over time.
Tools and Materials for Waterproofing
To waterproof your RC vehicle, you’ll need the following tools and materials:
Tools
- Screwdrivers (Phillips and flathead)
- Heat gun or hair dryer
- Hobby knife or scissors
- Small paintbrush
Materials
- Waterproof tape or electrical tape
- Liquid electrical tape
- Silicone sealant
- Heat shrink tubing
- Conformal coating spray
- Dielectric grease
- Rubber gaskets or O-rings
- Waterproof enclosure or balloon for the receiver
- Zip ties
Step-by-Step Guide to Waterproofing Your RC Vehicle
Step 1: Prepare Your RC Vehicle
- Disassemble Components: Remove the electronics (ESC, receiver, servo, and battery) from your RC vehicle. Clean these parts and the chassis to ensure there’s no dust, grease, or moisture.
- Inspect for Damage: Check for any damaged wires, connectors, or cracks in the chassis. Repair or replace these parts before proceeding.
Step 2: Waterproof the Receiver
- Use a Waterproof Enclosure: Place the receiver inside a waterproof enclosure or a balloon. Seal the opening with a zip tie and dielectric grease for added protection.
- Apply Conformal Coating: If you prefer not to use an enclosure, spray the receiver with a conformal coating. Allow it to dry completely before reinstallation.
Step 3: Protect the ESC
- Check for a Waterproof ESC: Some ESCs are pre-waterproofed. If not, proceed with waterproofing.
- Apply Liquid Electrical Tape: Cover the ESC’s exposed parts with liquid electrical tape. Use a paintbrush for an even application, and let it dry.
- Seal Connections: Use heat shrink tubing over the ESC wires to seal them. Apply dielectric grease to connectors for extra protection.
Step 4: Seal the Servo
- Open the Servo: Carefully disassemble the servo to expose the internal components.
- Apply Grease and Sealant: Coat the internal gears and motor with dielectric grease. Seal the seams with silicone sealant.
- Reassemble and Protect Wires: Reassemble the servo and cover the wires with heat shrink tubing.
Step 5: Protect the Motor
- Brushed Motor: These are relatively water-resistant. Apply a light coat of WD-40 or silicone spray to prevent rust.
- Brushless Motor: These require more care. Avoid submerging brushless motors entirely, as they are more susceptible to water damage.
Step 6: Safeguard the Battery and Connectors
- Seal Connectors: Use dielectric grease on battery connectors. Cover them with heat shrink tubing for added security.
- Protect the Battery: Enclose the battery in a waterproof case or balloon if you plan to drive in deep water.
Step 7: Waterproof the Chassis
- Seal Openings: Apply waterproof tape or silicone sealant to any openings in the chassis.
- Protect the Underbody: Use a chassis cover or skid plate to prevent water and mud from reaching the internal components.
Step 8: Test Your Waterproofing
- Initial Testing: Reassemble your RC vehicle and test it in a shallow, controlled environment such as a small puddle.
- Inspect for Leaks: After testing, disassemble the vehicle to check for any water entry. Address leaks and re-test if necessary.
Maintaining Your Waterproofed RC Vehicle
Waterproofing is not a one-time task. Regular maintenance is essential to keep your vehicle in top condition:
- Clean After Use: After driving through water or mud, clean your vehicle thoroughly. Use a soft brush and warm water for the chassis and components.
- Dry Completely: Ensure all parts are completely dry before storing the vehicle. Use a hair dryer or compressed air for hard-to-reach areas.
- Inspect Regularly: Check the waterproofing materials (tape, sealant, grease) for wear and tear. Reapply or replace them as needed.
- Lubricate Moving Parts: Apply WD-40 or a similar lubricant to prevent rust on metal parts.
Common Mistakes to Avoid
- Rushing the Process: Proper waterproofing takes time. Allow sealants and coatings to dry thoroughly.
- Ignoring Testing: Always test your waterproofing in a controlled environment before taking your vehicle into challenging conditions.
- Overlooking Small Openings: Tiny gaps in the chassis or around connectors can allow water to seep in. Inspect carefully.
- Neglecting Maintenance: Even waterproofed vehicles need regular cleaning and inspections to stay functional.
Enhancing Your Waterproofing
For enthusiasts looking to take their RC waterproofing to the next level, consider these advanced options:
- Upgraded Components: Invest in fully waterproof electronics such as waterproof ESCs and servos.
- Hydrophobic Coatings: Apply hydrophobic sprays to the chassis and body to repel water and mud.
- Custom Enclosures: Use 3D printing to create custom waterproof enclosures for your components.
Conclusion
Waterproofing your RC vehicle allows you to explore new terrains and environments without fear of damaging your prized possession. By following the steps outlined in this guide, you can protect your vehicle’s electronics, extend its lifespan, and enjoy endless fun in any weather. Regular maintenance and careful testing will ensure your waterproofing efforts are effective, giving you peace of mind as you tackle wet and muddy adventures.


